All in One Migration Wont Upload Past 67.88%

All-in-One WP Migration plugin exports your electric current WordPress website into a backup — an archive file with the .wpress extension, which then yous tin can import in any WordPress site.
The plugin is a convenient solution for keeping regular backups of your website(due south) for many purposes or but transfer website from one domain to another.
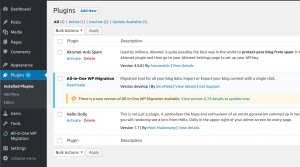
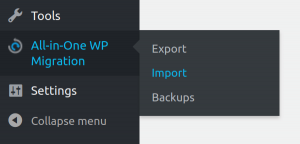
All-in-One WP Migration appears on your WordPress dashboard left panel when successfully installed, every bit well every bit in the list of plugins:
For more details about installing the tool, you tin visit: https://help.servmask.com/knowledgebase/install-instructions-for-all-in-one-wp-migration/
This tutorial contains details about:
- All-in-One WP Migration Backups Page
- Export Using All-in-1 WP Migration tool
- Import Using All-in-One WP Migration tool
- Reporting Issues
- All-in-One WP Migration Video Tutorials
1. All-in-1 WP Migration Backups Folio
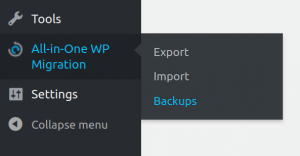
Backups page is accessible through the Backups option in the plugin menu:
Backups page shows the content of 'ai1wm-backups' binder in '/wordpress/wp-content/ai1wm-backups'. All-in-One WP Migration tool automatically creates the folder afterwards installation. If the plugin does not have sufficient permissions to create it, it will output this notice to the screen:
"All-in-1 WP Migration is not able to create [your-path-to-wordpress/wordpress/wp-content/ai1wm-backups] folder. You will need to create this folder and grant it read/write/execute permissions (0777) for the All in Ane WP Migration plugin to function properly."
This means that yous will demand to create the folder manually and provide (0777) permissions for it by yourself.
'ai1wm-backups' keeps backups on your server/local infinite. The files accept extension '.wpress'.

Your latest backup volition be at the top of the list as the creation time places the lodge of backups. Names will exist generated using the logic "[your-wordpress-site-proper noun]-YearMonthDate-HourMinuteSecond" at the moment of the fill-in cosmos.
Creating a backup and keeping it inside this folder initializes when choosing selection 'File' from the Export menu, described in Step 2 of this guide. Y'all can too re-create and paste backups within 'ai1wm-backups' folder via a local file manager or FTP/SFTP application. This page will and so also listing information technology. Delight note that if you put files with extensions besides '.wpress', they will not appear on the list.
How to characterization backups:

For each of the files on Backups folio, you have three available options: Download, Restore, and Delete:
Option "Download" allows you to download the selected fill-in to your computer. If you lot use a local host, the file will save to your downloads' directory.

Choice "Restore" will outset the process of importing the selected backup into your current WordPress site:

Selection "Delete" will delete the selected fill-in from the 'ai1wm-backups' folder:

On the lesser of the backups listing, you lot will see a button "Create Backup":

This button provides quick access to export functionality and will take you lot to the Export page. Process is described in Step ii of the present guide.
2. Export Using All-in-Ane WP Migration
2.1 Export Additional Settings
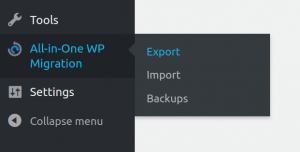
To apply the export functionality and settings, navigate to the Export page via the all-in-I WP Migration dropdown menu:
Y'all tin can brainstorm the export process on the Export page.
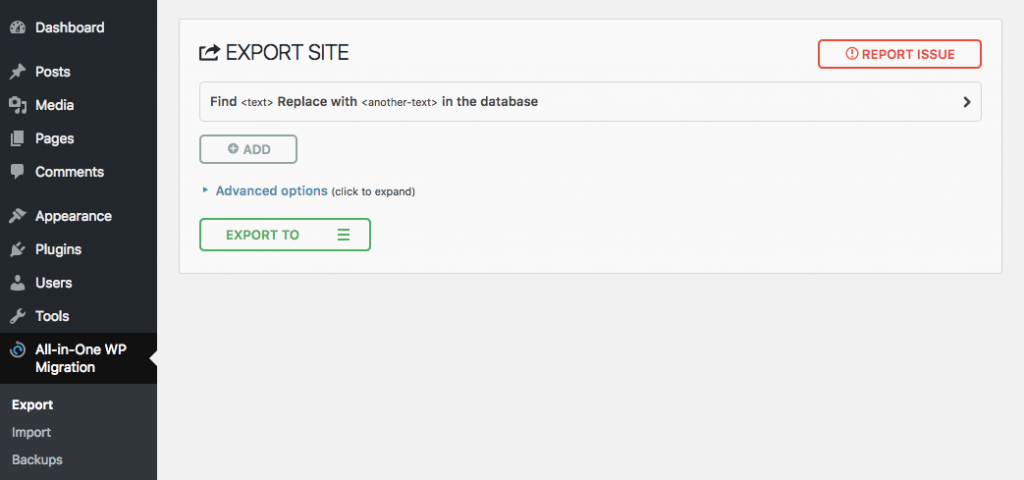
This page contains some additional settings that you can utilise before get-go the export process.
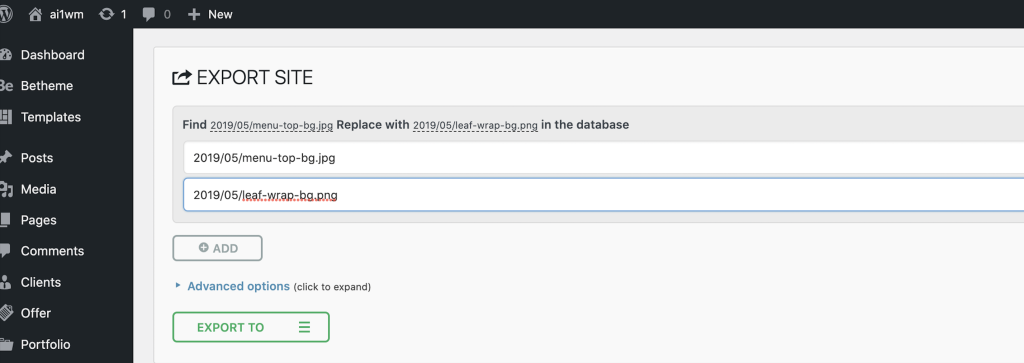
Find<text>Replace with<another-text> in the database
This choice searches a website'south database for a text and replaces it with another in all places for as many pairs — find/replace — equally yous specify. Normal website migration does non recommend using this pick considering the plugin volition handle renaming the site's elements to the URL that you import. But people who understand WordPress database's structure should employ this advanced characteristic. Delight keep in mind that this change may touch on your user access details to the site — be cautious of what you replace.
💡- Quick Tips for BeBuilder Theme users when you use "Paradigm Gallery Cake" from BeBuilder editor to your web log post/page and y'all desire to supersede image URL via Notice/Supervene upon from source site to target site, you can use the following example:
Y'all tin as well detect some additional options for excluding certain data from your fill-in under the advanced options bill of fare:

The below options should not impact the success of your migration:
– Exercise not export spam comments
– Exercise not export post revisions
– Practise not export inactive themes*
– Do non export inactive plugins*
– Do not export Cache*
*Available with premium extensions only. Non seen on the free community version.
The below options will lead to an incomplete migration:
– Do not export media library (appropriate to apply if you want to troubleshoot the backup simply you will have no images etc. in the consign)
– Practice non export themes (apply to troubleshoot if your theme is preventing a backup or restore)
– Practise not consign must-utilize plugins (utilise if yous are having issues or moving hosting)
– Do not export plugins (utilise to troubleshoot issues or exclude all plugins)
– Do not export database (this ways that your site fill-in will not contain any posts, pages, media, or content from the one you are exporting from – utilise for troubleshooting simply)
– Practise not use information technology to replace email domain. You can use this option if you apply an email on your site that relates to your site URL and DO NOT want that e-mail to exist changed (e.g. mysite.com and your e-mail is myname@mysite.com). This will not change if you use your domain email to log in.
2.2 Export Procedure
One time you lot've chosen Consign from the in a higher place options, you can create an annal by selecting the following option from the dropdown carte:
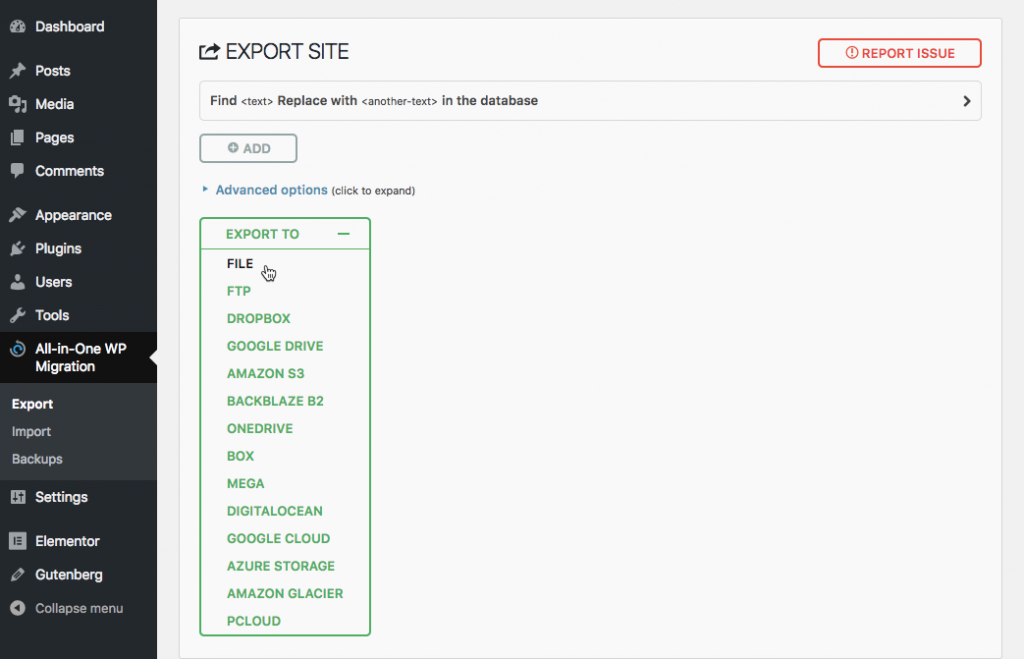
All options available from the dropdown menu, except "File" can be used with a combination of All-in-Ane WP Migration plugin with a corresponding extension installed. For more data about bachelor extensions please visit: https://servmask.com/products.
If yous chose option "File" the plugin will create a fill-in of your website inside 'ai1wm-backups' folder: '/wordpress/wp-content/ai1wm-backups'. The plugin uses this folder to store all backups created with the "File" option and its contents are bachelor on "Backups" page. Backup names generate by using the logic "[your-wordpress-site-name]-YearMonthDate-HourMinuteSecond" at the moment of their creation.
When you select one of the options from the Consign dropdown menu, the export procedure begins, and yous will see the post-obit window:
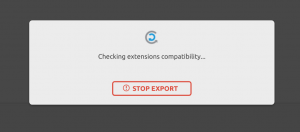
The export process takes fourth dimension depending on the size of your website data.
You should see this message later on your export is created and uploaded to your server:
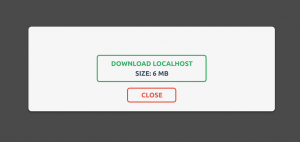
The backups are now available in your Backups folder. The Download push on this window allows you to save the backup to your PC.
3. Import Using All-in-Ane WP Migration
*If you are importing a website on a new server, please refer to Step 3.three of the present guide first.
3.one Import Process
To use the import functionality, navigate to the Import folio from the all-in-1 WP Migration dropdown menu:
When you select an option, the awarding takes yous to the Import page:
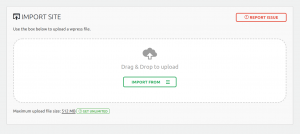
Using the dropdown menu on this screen, you can select where yous want to import a backup:
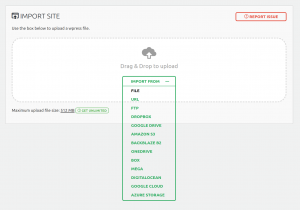
All options available from the dropdown card, except "File" should exist used with a combination of All-in-One WP Migration plugin with a respective extension installed. For more data about available extensions delight visit: https://servmask.com/products.
If you select "File," the plugin will open a window displaying your local files and directories and allowing you to select a backup to import from in that location. This option is very useful if yous accept a fill-in that is not in Backups and you need information technology imported as quickly as possible.
Selecting a backup to restore initiates the import procedure:

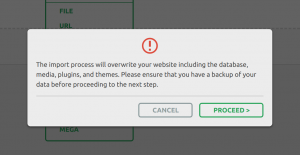
The import process includes an additional phase that alerts you that the new backup will overwrite your website's database, media, plugins, and themes. This is the final stage in the procedure, and you can cancel information technology at whatever time. After clicking "Proceed," you lot volition be unable to halt the import process. The duration of the import procedure is determined by the size of your website'southward data.
When finished, a successful import volition show the following message:
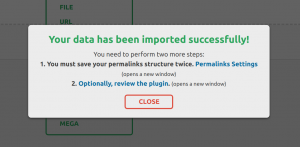
It is suggested at this point to click on the Permalinks Settings page and save your permalinks twice in order to save them and produce the .htaccess file.
3.2 Backup size
It is worth noting that the free community product — All-in-1 WP Migration — supports import for backups less than 512 MB. This message appears on the Import page and includes a link to the All-in-One WP Migration Unlimited Extension. It enhances the plugin's functionality by allowing information technology to import larger backups:

For more information almost All-in-One WP Migration Unlimited Extension, please refer to: https://servmask.com/products/unlimited-extension.
Subsequently you've migrated your site, you'll demand to log in with the username and password from the imported site. The previous site's users and passwords have been moved to the new site, therefore you lot must apply these credentials.
3.3 Hosts and Domains
When importing a website to a new server, the first thing yous'll need is the IP accost of the new server. So open your hosts file – this is a system file that must be opened every bit ambassador. The simplest way to accomplish this is to launch the Notepad application (for Windows users) or any other form of document editor equally administrator and open up the host's file. You must include the IP address of the server on which you lot are importing your backup besides as the actual name of the website you are creating in the host's file:
[IP address] [world wide web.yourwebsiteURL] [yourwebsiteURL]
So, on your new server, log into the WordPress dashboard, install the All-in-1 WP Migration tool, and import your backup past selecting the backup file location (on your file system, or on any of the supported cloud storage).
After importing the website, go to your domain registrar – the place where you registered your domain. There, you lot must update the proper noun servers (which y'all may obtain from your hosting provider's account) so that they refer to the new server, where your new website is hosted. Find the option for Name Servers within your account and edit the name servers past replacing them with the new ones. Proper noun servers can exist placed in many locations depending on your provider, and if you practice not know where they are, you should contact your registrar. Depending on your provider, some changes may take upward to 48 hours to accept outcome.
As administrator, you will then reopen your host's file and erase the latest modified line, which contains your IP accost and website URL.
4. Reporting Problems
You tin can find a button for reporting errors on all pages of the All-in-One WP Migration program in the right upper corner:

This push button opens a window where yous may written report any problems you run across while using the All-in-1 WP Migration software or any of its extensions:

Some other way of contacting us regarding whatever issues is past sending an east-mail directly to support@servmask.com.
five. All-in-One WP Migration Video Tutorials
See our video tutorials for additional details on how to utilise the All-in-1 WP Migration package.
For more information on how to export/import using All-in-One WP Migration, see the video beneath:
If you're moving a site to a new server, this longer video goes over the specifics of importing on a new host in farther detail:
In case you lot take any questions or comments, feel free to annotate below this commodity or reach united states at support@servmask.com.
Source: https://help.servmask.com/knowledgebase/all-in-one-wp-migration-user-guide/
0 Response to "All in One Migration Wont Upload Past 67.88%"
Post a Comment